A Pipe Saddle is a fitting designed to connect, support, or reinforce a pipe. It usually wraps around the main pipe and provides a controlled outlet or mounting point. Some models include a threaded, flanged, or grooved branch connection. Others act mainly as support clamps. The exact design depends on pipe material, diameter, pressure, and installation conditions.
In practical work, technicians place the saddle over a cleaned section of pipe. Bolts are tightened evenly, while seals must sit flat against the pipe surface. A poor fit can cause leaks, movement, or uneven stress. That detail matters. For example, a saddle installed on a wet, corroded pipe may appear secure but fail during pressure changes. Manufacturers normally specify torque values, compatible materials, and approved service limits. Those instructions should guide the installation, not guesswork.
Pipe Saddles are common in water distribution, irrigation, drainage, heating, and industrial systems. They can simplify branch connections and reduce the need to replace long pipe sections. However, a saddle is not automatically suitable for every application. Pipe wall thickness, fluid temperature, vibration, and external loading require careful review. Professional installers often inspect the pipe, confirm dimensions, and test the finished connection. Even experienced workers can overlook surface damage or gasket alignment. That assumption deserves checking. This guide explains how a Pipe Saddle works, where it is useful, and which installation details affect reliability and service life.
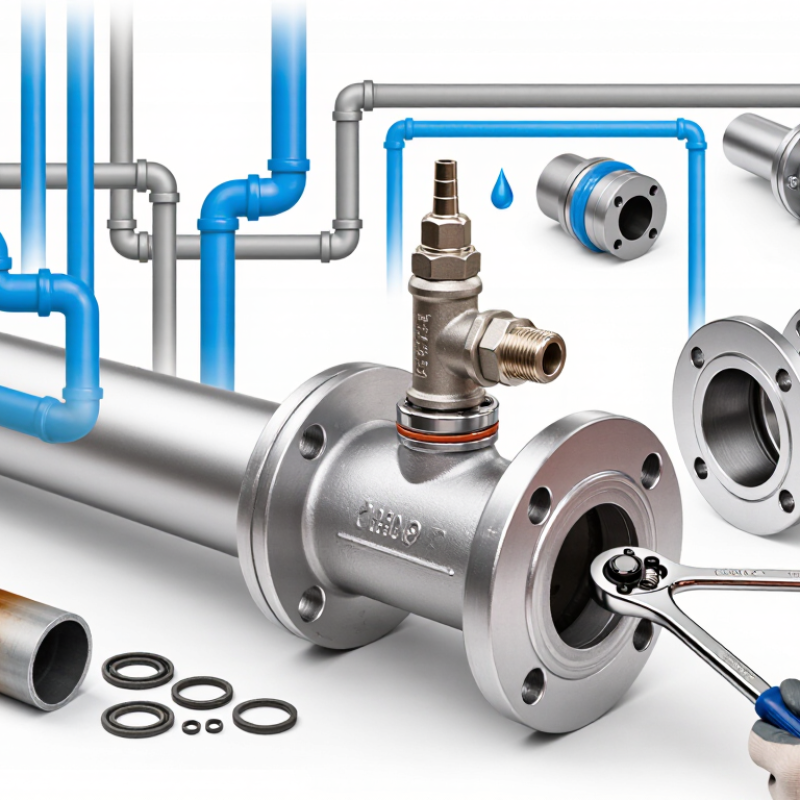
What Is a Pipe Saddle? Branch Supports for NPS ½–24 Pipe Systems
What Is a Pipe Saddle and How Is It Used?
A pipe saddle is a shaped component fitted around a main pipe to support or reinforce a branch connection. In NPS ½–24 pipe systems, it can help transfer branch loads into the larger run pipe. Some saddles are welded in place, while others clamp around the pipe for mechanical support. The correct design depends on pipe diameter, wall thickness, material, pressure, temperature, and branch size.
Picture a 6-inch header carrying a 2-inch branch. Without proper reinforcement, the opening may create local stress around the connection. A saddle spreads that stress across a wider area. It also helps maintain branch alignment during fabrication. The contact surface should fit closely, with clean edges and controlled weld preparation. Small gaps can become serious defects.
Installation requires more than selecting a matching nominal size. Engineers should check branch loads, thermal movement, vibration, corrosion allowance, and inspection requirements. A saddle may support a branch, but it does not automatically provide pressure integrity. That point is often overlooked. Field measurements can also reveal oval pipe, coating thickness, or uneven surfaces, so drawings should not be trusted blindly. For NPS ½–24 systems, verify the saddle’s load rating and compatibility with the piping specification before fabrication. Good practice includes qualified welding procedures, visual inspection, and non-destructive testing when the service demands it.
Pipe Saddle Types: Welded, Clamp-On, and Split Designs Compared
A pipe saddle supports, reinforces, or connects a branch to a larger pipe. Its design affects load transfer, sealing, installation time, and inspection access. The choice is rarely cosmetic.
Welded saddles provide a rigid connection. They suit permanent steel systems when qualified welding procedures, surface preparation, and non-destructive testing are available. Heat can damage coatings or distort thin pipe walls.
Clamp-on saddles avoid hot work. They use bolts, a gasket, and a contoured body, making them practical for repairs or operating facilities. However, bolt torque must remain even. A small sealing gap can become a leak path under vibration.
Split saddles surround the pipe in two sections. They distribute support across a wider area and can simplify installation where pipe ends cannot move. Their joint alignment still needs careful checking.
Field experience shows that the pipe material matters as much as the saddle type. Cast or brittle pipe may need broader contact areas and controlled tightening. Plastic pipe can creep under constant clamp pressure. Welded joints require qualified personnel and inspection records. Clamp-on and split designs require gasket compatibility, bolt sequencing, and periodic checks for corrosion beneath the saddle.
The 2023 U.S. Environmental Protection Agency Drinking Water Infrastructure Needs Survey estimates 625 billion dollars in drinking-water investment over 20 years, highlighting the scale of maintenance decisions. The NACE IMPACT study estimated global corrosion costs at 2.5 trillion dollars annually.
These figures do not select a saddle for you. They do show why weak assumptions become expensive. A clean installation can still hide poor load distribution.
Saddle Sizing: Match NPS, OD, Wall Thickness, and Class 150–2500
What Is a Pipe Saddle and How Is It Used?
A pipe saddle can reinforce a branch connection or support a pipe against movement. Its sizing is more than choosing the same nominal pipe size. NPS identifies the nominal diameter, while OD determines the saddle’s actual contact and fit. This difference matters, especially with larger pipe sizes. A saddle that matches NPS but misses the OD can leave gaps, create stress, or require unsafe field adjustment.
Wall thickness also deserves careful attention. It affects the branch opening, welding preparation, internal bore, and reinforcement calculation. Thin-wall and heavy-wall pipes may share the same NPS and OD, yet need different connection details. Pressure class 150, 300, 600, 900, 1500, and 2500 describes pressure-temperature capacity. It does not automatically define the saddle dimensions. The selected class must suit design pressure, temperature, material, flange standard, and corrosion allowance. A reliable engineer should verify the complete pressure design, not rely on a catalog label alone.
Tips: Confirm NPS, actual OD, wall thickness, material, and service temperature before ordering. Check whether the saddle is for a branch outlet or pipe support. Measure the pipe surface when coatings, ovality, or corrosion are present. I have seen projects specify the correct NPS but overlook wall thickness. That shortcut looked efficient. It was not. A final fit-up review can prevent welding gaps, misalignment, and costly rework.
What Is a Pipe Saddle and How Is It Used? - Saddle Sizing: Match NPS, OD, Wall Thickness, and Class 150–2500
Reference sizing data for selecting a pipe saddle, branch saddle, or reinforcing saddle by nominal pipe size, outside diameter, wall thickness, and pressure-class connection.
Pipe Saddle Sizing Reference — Carbon Steel Pipe Dimensions
Pipe Size
NPS |
Outside Diameter
in (mm) |
Schedule 40 Wall Thickness |
Schedule 80 Wall Thickness |
Primary Saddle Fit Check |
| in |
mm |
in |
mm |
| 1/2 |
0.840 (21.3) |
0.109 |
2.77 |
0.147 |
3.73 |
Match saddle curvature to 21.3 mm OD |
| 3/4 |
1.050 (26.7) |
0.113 |
2.87 |
0.154 |
3.91 |
Match saddle curvature to 26.7 mm OD |
| 1 |
1.315 (33.4) |
0.133 |
3.38 |
0.179 |
4.55 |
Match saddle curvature to 33.4 mm OD |
| 1-1/4 |
1.660 (42.2) |
0.140 |
3.56 |
0.191 |
4.85 |
Match saddle curvature to 42.2 mm OD |
| 1-1/2 |
1.900 (48.3) |
0.145 |
3.68 |
0.200 |
5.08 |
Match saddle curvature to 48.3 mm OD |
| 2 |
2.375 (60.3) |
0.154 |
3.91 |
0.218 |
5.54 |
Match saddle curvature to 60.3 mm OD |
| 2-1/2 |
2.875 (73.0) |
0.203 |
5.16 |
0.276 |
7.01 |
Match saddle curvature to 73.0 mm OD |
| 3 |
3.500 (88.9) |
0.216 |
5.49 |
0.300 |
7.62 |
Match saddle curvature to 88.9 mm OD |
| 4 |
4.500 (114.3) |
0.237 |
6.02 |
0.337 |
8.56 |
Match saddle curvature to 114.3 mm OD |
| 6 |
6.625 (168.3) |
0.280 |
7.11 |
0.432 |
10.97 |
Match saddle curvature to 168.3 mm OD |
| 8 |
8.625 (219.1) |
0.322 |
8.18 |
0.500 |
12.70 |
Match saddle curvature to 219.1 mm OD |
| 10 |
10.750 (273.1) |
0.365 |
9.27 |
0.593 |
15.06 |
Match saddle curvature to 273.1 mm OD |
| 12 |
12.750 (323.9) |
0.375 |
9.53 |
0.687 |
17.45 |
Match saddle curvature to 323.9 mm OD |
Pressure-Class Coordination Guide for Saddle Connections
| Class |
Typical Connection Context |
Selection Requirement |
Important Design Check |
| 150 |
Low-pressure process, utility, and general piping connections |
Use a saddle and branch connection rated for the design pressure and temperature |
Verify flange drilling, gasket type, bolt pattern, and material compatibility |
| 300 |
Moderate-pressure process and industrial piping |
Match the saddle outlet and attached flange to Class 300 requirements |
Check branch reinforcement and local shell stresses |
| 600 |
Higher-pressure process, power, and hydrocarbon service |
Use pressure-class-compatible outlet, flange, bolts, and gasket |
Confirm pressure-temperature rating at the actual design temperature |
| 900 |
High-pressure process and transmission applications |
Specify a reinforced or engineered saddle arrangement where required |
Perform branch connection, weld, fatigue, and reinforcement calculations |
| 1500 |
Very high-pressure process and power applications |
Use an engineered saddle assembly with a matching Class 1500 outlet |
Check material strength, weld procedure, bolt loading, and thermal effects |
| 2500 |
Extreme-pressure process and specialized service |
Use a purpose-designed saddle and Class 2500 branch connection |
Require detailed pressure, reinforcement, fatigue, and fabrication review |
Selection note: NPS identifies the nominal pipe size, but the saddle must physically fit the actual outside diameter. Wall thickness affects weld configuration, reinforcement requirements, clamp clearance, and load capacity. Pressure classes are not interchangeable with saddle strength ratings; the complete saddle, branch outlet, flange, gasket, bolts, welds, and pipe wall must all be suitable for the design pressure, temperature, fluid, and applicable engineering code.
Pipe dimensions shown are commonly used nominal dimensions for standard steel pipe. Always confirm the actual measured outside diameter, wall thickness, corrosion allowance, ovality, coating thickness, and connection details before fabrication or installation.
Code Checks: ASME B31.3 Design and Hydrotests at 1.5× Design Pressure
What Is a Pipe Saddle and How Is It Used?
A pipe saddle supports a pipe or reinforces a branch connection. It spreads local loads across the pipe wall, reducing stress at one small contact area. Saddles may appear on horizontal lines, vessel connections, or large branch outlets. In practical inspections, fit-up matters. Uneven gaps, sharp edges, or poor weld access can create trouble during operation.
ASME B31.3 design checks should confirm branch geometry, wall thickness, reinforcement, weld details, and material compatibility. The engineer must also consider pressure, temperature, weight, thermal movement, and occasional loads. A saddle is not automatically adequate because it looks heavy. The calculations must match the actual pipe dimensions and service conditions.
Hydrostatic testing usually uses 1.5 times the design pressure under ASME B31.3 requirements. The test plan should verify the pressure rating of every connected component, including valves, flanges, instruments, and temporary blinds. Test pressure also requires temperature and stress review. A pressure gauge should be calibrated and placed where readings are meaningful. Hold time, leakage checks, and examination records need clear documentation. Small leaks matter. They may indicate poor weld preparation, distortion, or an overlooked fitting issue. One practical weakness is rushing the test after installation. A saddle can pass a visual check yet fail to support thermal movement properly, so design review and field verification should remain separate steps.
Conclusion
A Pipe Saddle is a branch-support fitting used to connect and reinforce smaller branch lines on main pipe systems ranging from NPS ½ to 24. It helps distribute loads, reduce stress at the branch connection, and maintain system stability. Common designs include welded saddles, clamp-on saddles, and split saddles, each suited to different installation conditions, maintenance needs, and access limitations.
Proper selection requires matching the saddle to the pipe’s NPS, outside diameter, wall thickness, material, and pressure class, including Class 150 through Class 2500 applications. Installation typically involves checking fit-up, aligning the branch, securing bolts where applicable, completing qualified welds, and inspecting the connection before testing. Design and fabrication should be reviewed against ASME B31.3 requirements, while hydrostatic testing is commonly performed at 1.5 times the design pressure when permitted by the applicable project specifications and safety procedures.
 LANGLI PVC Request a Catalog